Cyber Security News Aggregator
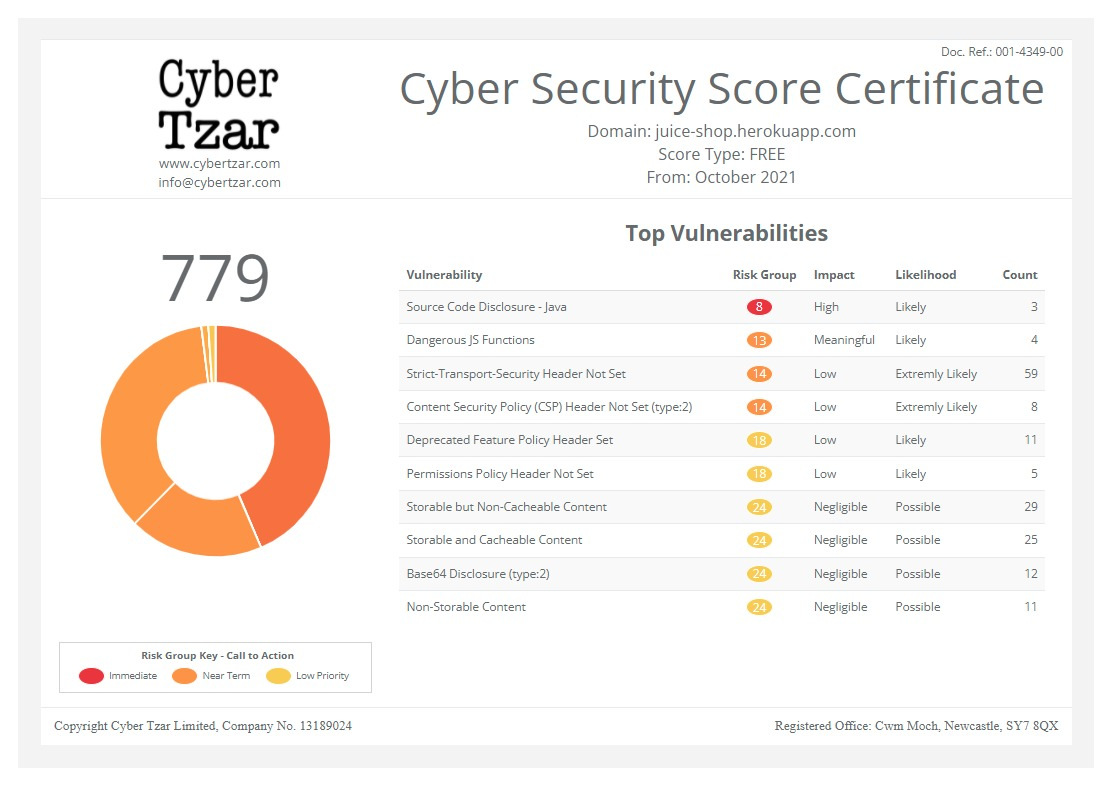
.Cyber Tzar
provide acyber security risk management
platform; including automated penetration tests and risk assesments culminating in a "cyber risk score" out of 1,000, just like a credit score.3D Printing with Kids on Lenovo Yoga 7i
published on 2021-08-05 07:10:10 UTC by Troy HuntContent:

The greatest gift I can give my kids is a love of technology. I mean after all the usual Maslow's hierarchy of needs stuff, of course, the thing that I (and many of my readers) can instil in our kids is a deep passion for this life-altering and possibly career-defining thing that increasingly defines our everyday being. And without doubt, the best educational technology thing I've ever brought home is my Prusa 3D printer. Here's where it all started:
Looking at a mate’s Prusa i3 printer and getting a bit tempted, what are folks using out there for hobby projects? The Dremel 3D45 looks good in reviews, what do the masses think? pic.twitter.com/iQcIMplt4s
— Troy Hunt (@troyhunt) January 6, 2021
I'd always liked the idea of a 3D printer, but I had absolutely no idea where to start. Being there with my mate who really understood this stuff gave me the push I needed, and I basically just said "tell me what to buy". The responses to that tweet above were resoundingly in favour of the Prusa, so let's start there.
The Prusa MK3S+
Prusa is based in the Czech Republic and the best primer for who they are and why there's so much love for them is this video:
By all accounts, Prusa are just extremely reliable, work with minimal configuration and are one of the easiest ways to get up and running with very little knowledge. I ended up buying the MK3S+ and a few different spools of filament, purchased from the official website and shipped from Europe. At the urging of my mate, I bought the unassembled one rather than the one that came completely ready to roll. It wasn't to save US$250 (although that's nice incentive), but rather because building the whole thing bit by bit would help me understand how these things tick. And it did, which has been particularly useful when performing later maintenance. Here's the full build thread if you're interested:
And so the build begins! I’m massively impressed at how well the @Prusa3D is packaged up and how the build guide is structured. We’re following the online version complete with helpful community comments, check it out here: https://t.co/8avxYULBSc pic.twitter.com/h3x36YzEUM
— Troy Hunt (@troyhunt) February 10, 2021
It took probably a couple of days in total without any hiccups of note. Once it was done, the kids took to it like ducks to water:
My @Prusa3D printer is the best educational device I’ve ever bought. Seeing 8-year old Elle working in CAD, learning about axes, degrees of rotation, rending models and dropping them onto SD cards, loading filaments and producing a physical version of her work is just awesome 😎 pic.twitter.com/ZVmawB1F3I
— Troy Hunt (@troyhunt) February 22, 2021
And that's what I really want to focus on here - the kids and in particular, my (now 9-year old) daughter Elle.
Lenovo Yoga 7i
5 and a half years ago now, I gave my 6-year old son a Lenovo Yoga 900 and set him loose on code.org. 4 years later after putting on the sort of miles you'd expect from a kid that age, he got a Yoga C940 and continued his coding on Code Combat. These machines came courtesy of the Insiders program so full disclosure, I didn't pay for them. But also full disclosure, I do buy Lenovo machines at full retail with my own hard-earned dollars because frankly, they're awesome:
Bought @charlottelyng a *very* nice Lenovo ThinkPad X1 Extreme to replace her MacBook Pro. Biometrics with fingerprint and face, touch screen, 4K inbuilt display and enough GPU grunt to drive 2 external 4K displays daisy chained via Thunderbolt. This machine is 😍😍😍 pic.twitter.com/iFoiq4eSD8
— Troy Hunt (@troyhunt) June 23, 2021
And so I gave Elle a Lenovo Yoga 7i for her birthday via the Insiders program:

I wanted a device that was touch screen and could use a pen for reasons that will become apparent shortly when you see how she interacts with the screen. I also wanted it to be convertible so she could use it like a tablet because that gives you a heap of really neat ways of using it (i.e. folding it like a tent for watching movies). Plus, the fingerprint reader means she can start getting into good security habits by regularly locking and unlocking the machine without risk of disclosing her password to others around her.
Giving Elle the machine was a way of giving her more ownership over the 3D process. Finding models, making new designs, slicing them up then managing the print process is all something that's now squarely in her hands. It was a great opportunity to give her more responsibility and especially when you're working with materials heated to over 200C, responsibility is kinda important!
Tinkercad
Tinkercad is without doubt the best place to start kids learning 3D modelling. It's a free browser-based service provided by Autodesk (they also make Fusion 360 which I have my son using, but it certainly takes some more skills than Tinkercad) and it's a great way to get the basics down. Here they learn fundamentals such as X, Y and Z axes, sizing and rotating objects then creating .stl files ("a file format native to the stereolithography CAD software created by 3D Systems") that can be processed by 3D printer slicing software such as PrusaSlicer. Elle and I did a video together showing how it all works:
See why I wanted her to have a Yoga? 🙂 Precision with the pen combined with pinch and zoom with the fingers is an awesome way of interacting with three dimensional objects. Particularly with kids trying to grasp all new geometric concepts, I've found this way of interacting with modelling software is unparalleled.
In this video we also use OctoPrint which I highly recommend. Without it, you're saving .gcode files onto SD cards and manually running them around between PC and printer. OctoPrint runs on a Raspberry Pi and is easily controlled from the PC, gives you great real time visibility into progress and perhaps most importantly, makes it really easy to maintain a library of your favourite prints you can call up at any time. (Plus, you can integrate it into Home Assistant and trigger notifications when prints are done 😎)
Photos to 3D Models
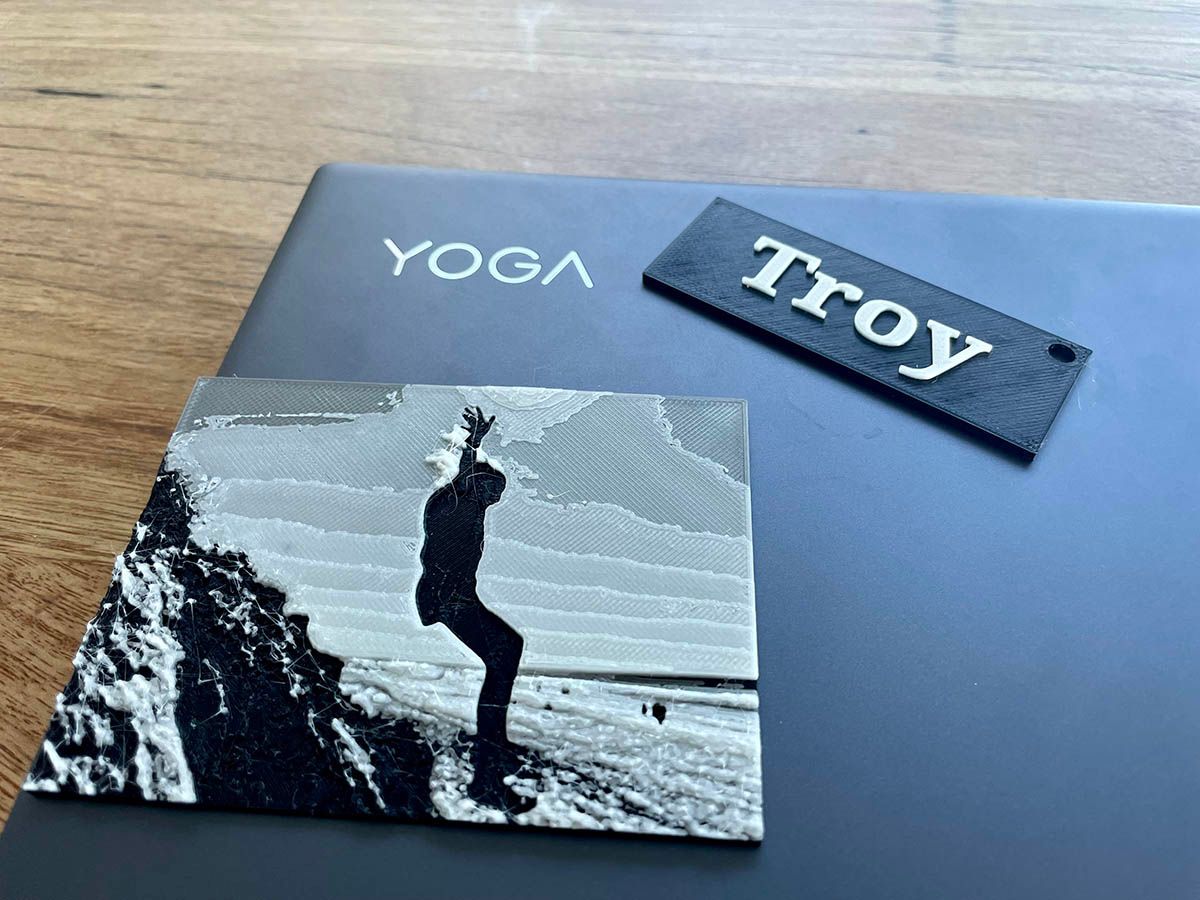
One of the coolest things about a 3D printer is the ability to brings things to life you'd normally only ever see on a screen. That's not just 3 dimensional objects either, even traditional photos can get the 3D treatment. I took this one of Elle jumping off the highest sand dune she could find (yeah, she's that sort of kid):

Over on ImageToStl, we uploaded the photo and fiddled with the parameters:

We didn't want to resultant print to be too thick, so we limited the height to 7mm. When we first took it into PrusaSlicer, we found the model had a big hole in it where she appears in the photo (remember, the printer has to create depth), so we added a 1mm base layer and exported it again. Then, just as in the earlier video where she made my name tag, we sliced the file and defined a colour change point. The end result is pretty cool:

One thing we haven't tried yet but is on the cards is creating lithophanes with Image to Lithophane. Similar concept and just one more way of turning the digital into physical.
Thingiverse (and Others)
Thingiverse rocks! This is a site full of freely downloadable 3D models you can take into PrusaSlicer (or equivalent) and begin printing things right away. For example:
Rainbow filament 3D printed 🐙 🐙 🐙 🐙 pic.twitter.com/xPOUhVKLPD
— Troy Hunt (@troyhunt) July 21, 2021
These are amazing as they print in place as one unit but then the legs are articulated so they dangle around once you pull them off the print surface. They're so popular that the kids have even been selling "providing them for free" to other kids at school. Or the more fun version, albeit without articulation:
3D printing is serious business https://t.co/2mj92k459n pic.twitter.com/yYpigdne8G
— Troy Hunt (@troyhunt) July 24, 2021
There are all sorts of other amazing useful stuff there too. For example, I recently needed a very specifically sized grommet to pass cables through in a new shelf I'd built so I just printed my own. Whilst I was over at Thingiverse pulling together links for this post, I found a model for garden hose connectors which I think will be really useful in the future.
Thingiverse is certainly the most well-known "download and print" site, but there are others including Prusa's own 3D models database. We've had great success with these, more so than Thingiverse as far as quality goes. One of my new favourites is Fab365 where you can purchase downloadable models. Yes, they're a few bucks each but wow!
3D printed this amazing AT-AT from @FAB_365 with the kids this weekend. It creates a “print-in-place” foldable model you then assemble. Check this out, it’s awesome: https://t.co/DG7Vkpp8z9 pic.twitter.com/kwYqmUyAnL
— Troy Hunt (@troyhunt) June 13, 2021
Summary
I think what really hits home for kids with 3D printing is the manifestation of a digital entity into something they can hold in their hands. Creating a 3D model in Tinkercad is cool, but printing out a nametag they then attach to their school bag is next level.
The 3D printer as a tool is also just absolutely fascinating to watch. My original plan had been to place it in an out of the way location, but as soon as I started seeing people's reactions to it, I realised it would have to take centre stage somewhere. It now sits very centrally in the house between the kids' rooms and half a year on from getting it, we still make sure to have something cool printing before friends come over (not just their friends, my friends too!)
This week as our kids have returned to home-schooling during another COVID-induced lockdown, I proudly watched from a distance as Elle took all her 3D printed models over to the PC to show the other kids then walked them over to the printer to show everyone how it worked. It's just sooo cool! This is possibly the best outcome of all, seeing the reaction from other school mates and teachers. I've had a number of discussions with both and made sure the work the kids have done is seen at school in the hope they then become champions for STEAM in their classes. Which brings me full circle to the opening sentence of this blog post; 3D printing has become an invaluable vehicle for getting them excited about technology, and I can't recommend following this exact same path highly enough 😊
https://www.troyhunt.com/3d-printing-with-kids-on-lenovo-yoga-71/
Published: 2021 08 05 07:10:10
Received: 2021 08 05 08:05:10
Feed: Troy Hunt's Blog
Source: Troy Hunt's Blog
Category: Cyber Security
Topic: Cyber Security
Views: 51
